Explanation
This topic outlines the process to create a rack layout.
This function requires at least one Resizable Rack and at least one Resizable Rack Panel.
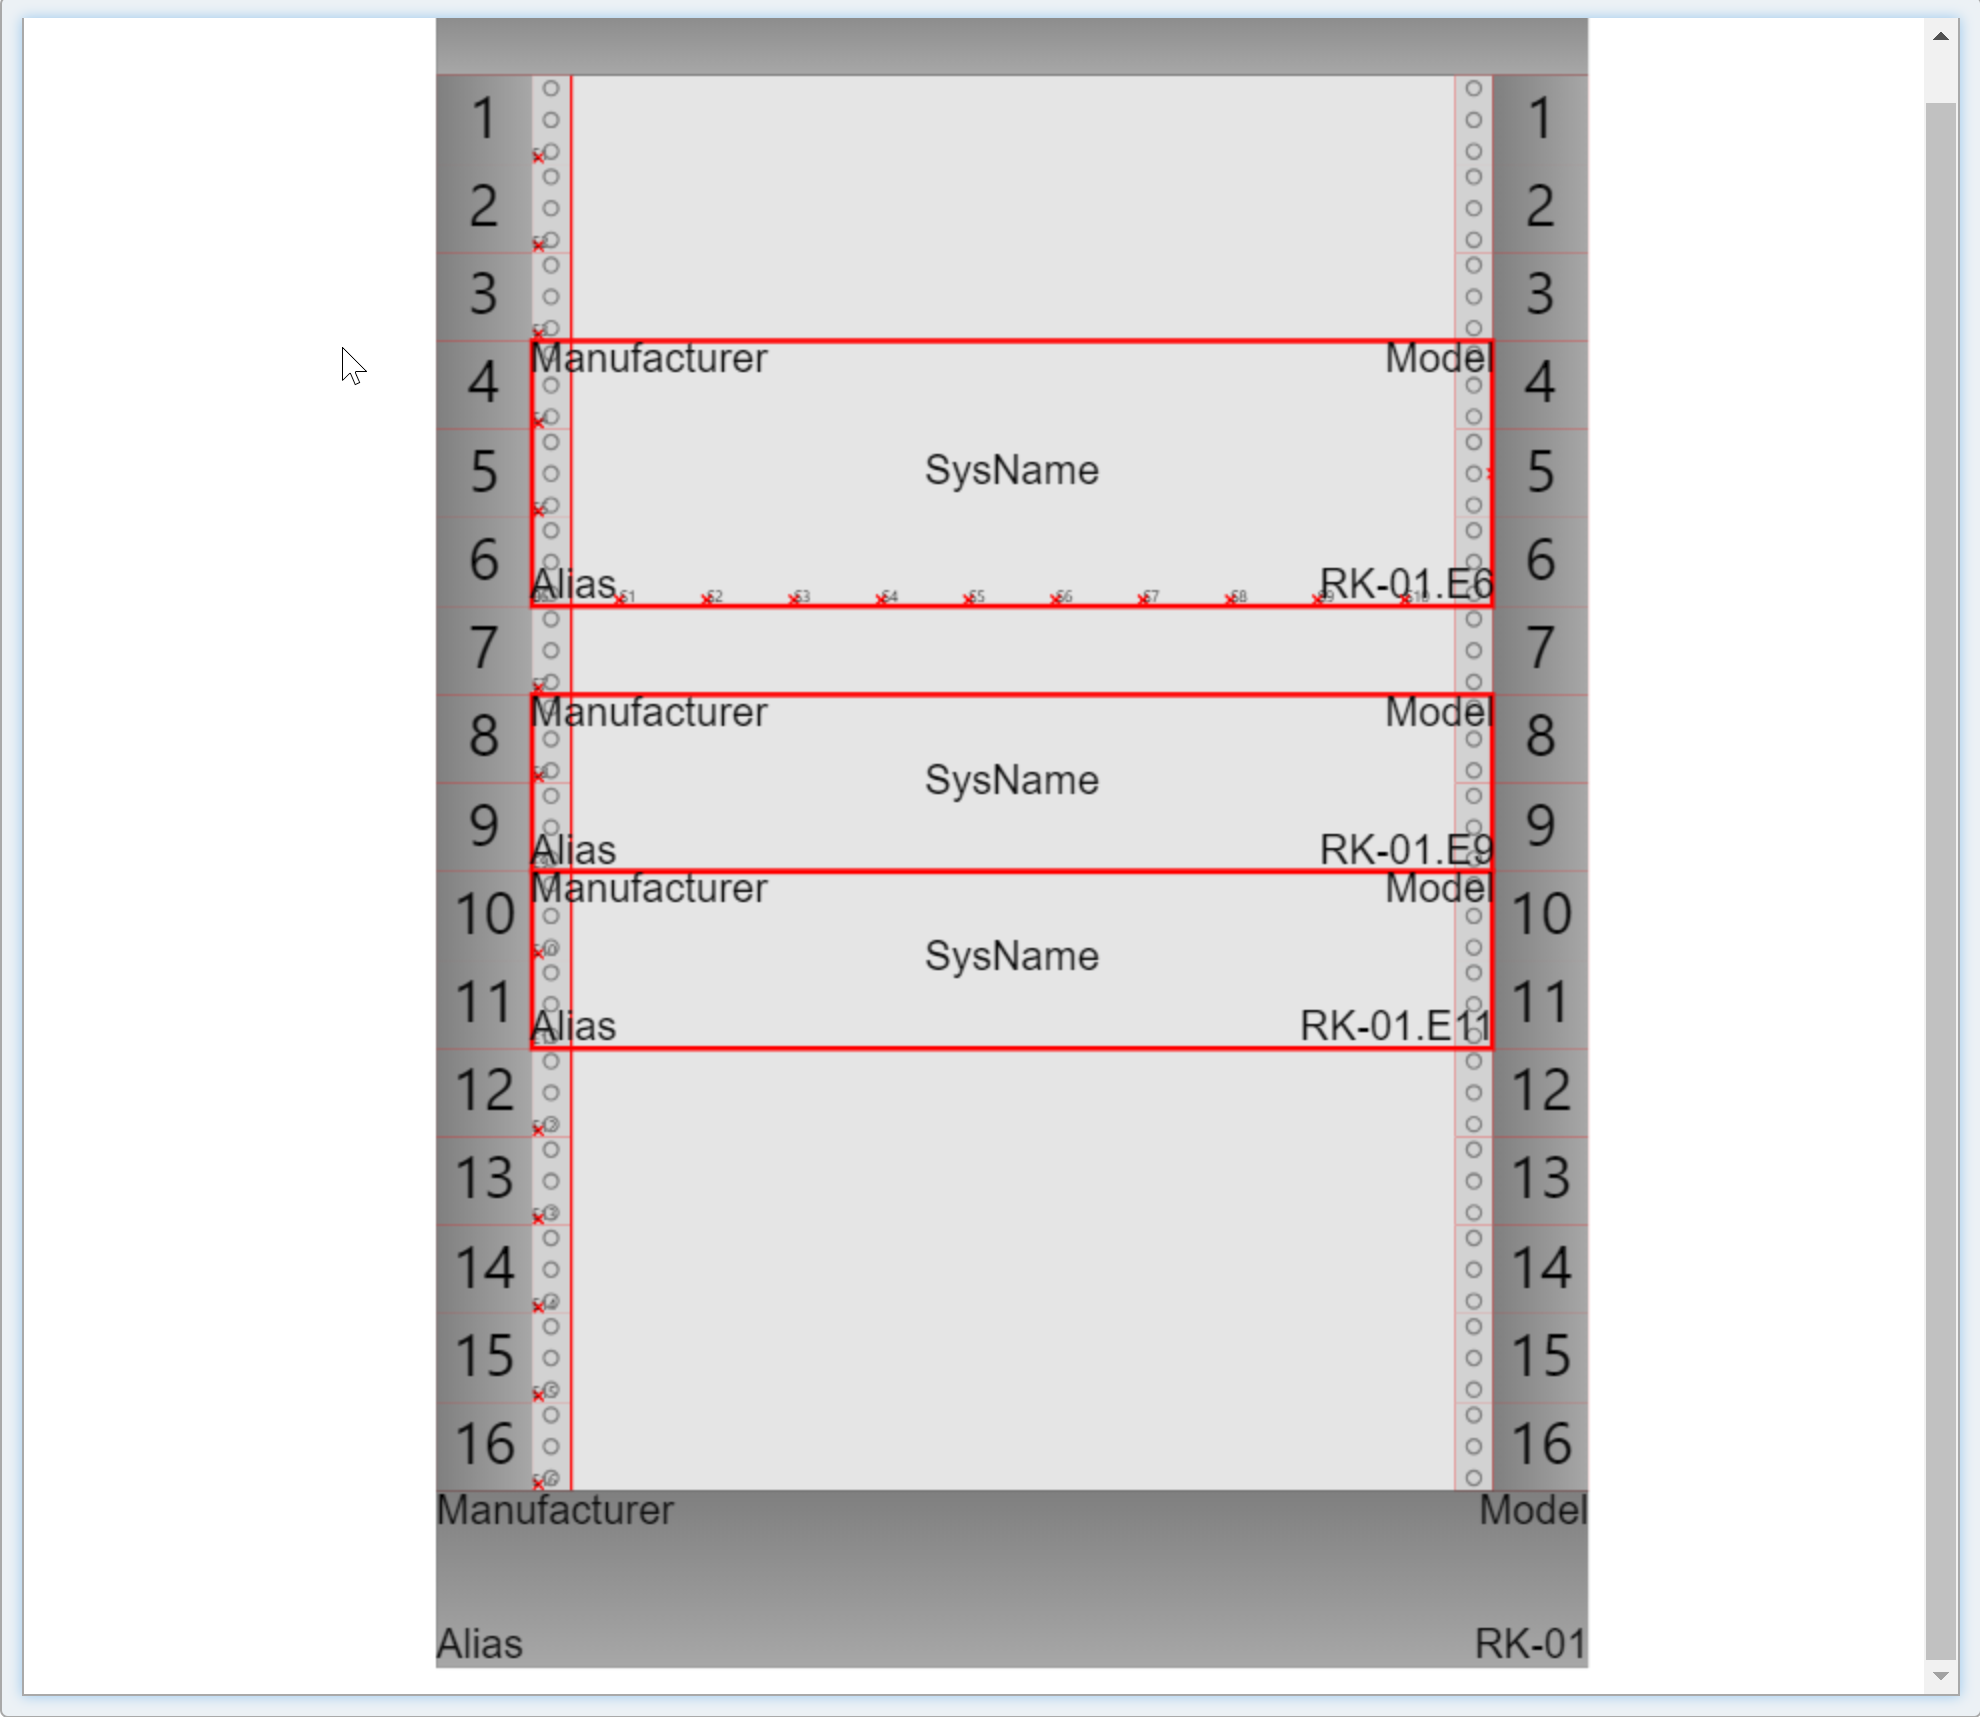
Racks have a SysName. In the image below the rack is named RK-01. When a panel is dropped onto a target the panel Location field will receive the Location.Elevation information.
The drop target defines the name of the elevation or slot.
Racks have elevations.
Panels have slots.
Assumptions
•You have created a project.
•You have created a drawing.
Menu
None
Steps
1.Open the drawing.
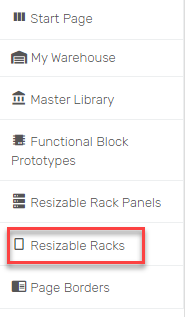
2.Click Resizable Racks section of the left-hand sidebar.
3.Choose the resizable rack that you would like to use and click and drag it into your drawing.
4.Drag the top or bottom grip to resize it to your RU count.
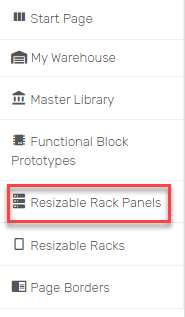
5.Click Resizable Rack Panels section of the left-hand sidebar.
6.Click and drag a rack panel into the drawing and drop it on the rack where you want it.
7.If you land it in the wrong spot, right-click it and click Detach. Then move to where you want it.
8.Edit the make and model for all.
9.Done.