Master Library
The Master Library is a shared catalog of equipment you can drop into a drawing with its ports already named. For items you build yourself and want to reuse, see Warehouses.
The Master Library
Each piece of equipment in the Master Library has a manufacturer and model, a description, inputs and outputs with their port names, connectors and signal types, and, where known, a picture and a rack height.
To open it, click Master Library in the library pane of a drawing. The Master Library dialog opens over the editor.
Team members with the POWER VIEWER or VIEWER role can’t open the Master Library. See Teams.
Finding equipment
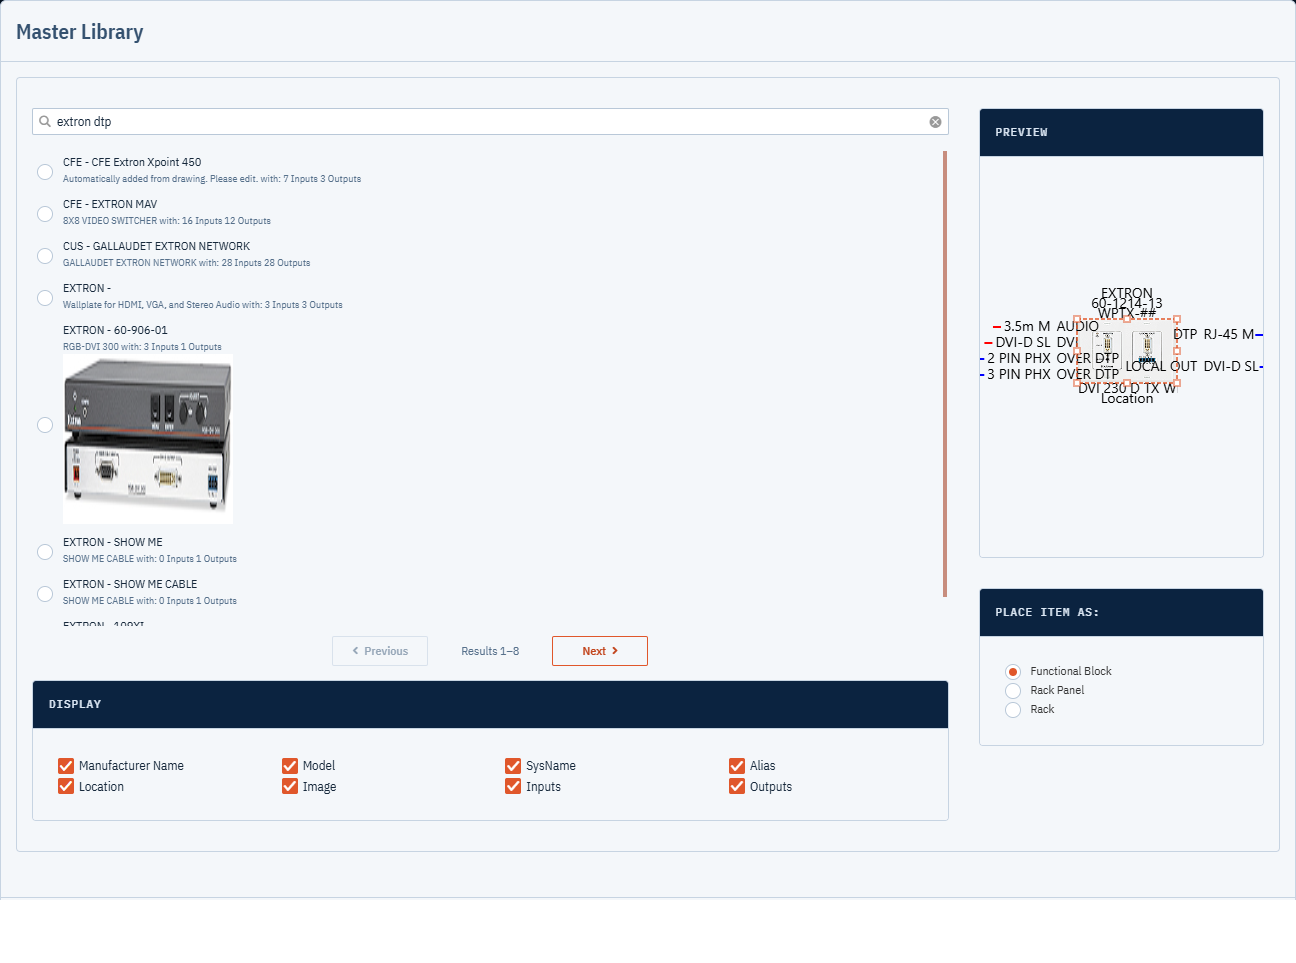
- Click in Search Library… at the top of the dialog and type at least three characters. The results update as you type.
- Scroll the results. Each shows the manufacturer and model, the description, the number of inputs and outputs, and a picture when the library has one.
- The results come eight at a time, sorted by manufacturer and then model. Use the arrow buttons at the bottom left of the dialog for the previous and next page.
The search matches words that begin with what you type. If you type several words, each one must match, so
blackmagic router narrows the list more than blackmagic.
Previewing and display options
Click a result to select it. The Preview panel on the right shows the item as it will be placed.
Under Place Item As, choose what to create:
- Functional Block: a block with the equipment’s inputs on the left and outputs on the right.
- Rack Panel: a panel sized to the equipment’s height in rack units.
- Rack: a resizable rack.
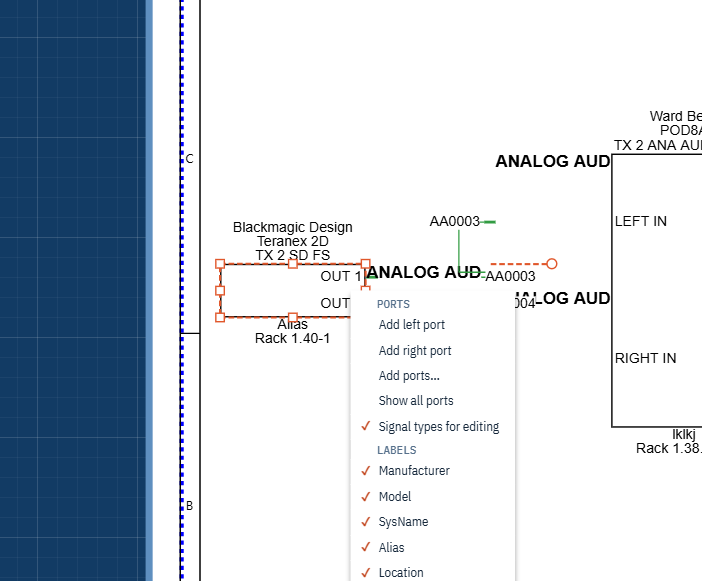
Under Display, clear any of Manufacturer Name, Model, SysName, Alias, Location, Image, Inputs and Outputs to leave them off the placed item. Clearing Inputs or Outputs hides those ports; you can show them later with Show all ports on the block’s context menu (see Ports and connectors). The preview updates as you change these options.
On the Free plan the Display options are disabled and the panel reads Display - disabled in FREE mode. See Billing and Plans.
Placing equipment in the drawing
Click Place in Drawing. The dialog closes, the item is added to the drawing, and the canvas scrolls to it and selects it. Drag it to where you want it. Click Close to leave without placing anything.
What you get depends on Place Item As:
- Functional Block: the inputs and outputs from the library, in name order, with their connectors and
signal types. The block is tall enough for its ports. SysName is set to the equipment type followed by
-##; replace##with the unit number. Alias is set to the equipment’s description. - Rack Panel: a panel as tall as the equipment’s rack units. If the library doesn’t know the height, the panel is one rack unit tall, drawn with a red outline, and its Location reads Dimension Undefined, so you can spot it and resize it. Count in BOM is off.
- Rack: an 11 RU rack you can resize. See Racks and Rack Panels.
If the equipment uses signal types that your project doesn’t have yet, they are added to the project’s signal types, with ? for the cable manufacturer and cable type. Fill those in on the Signal Types grid; see Signal Types.
Uploading equipment to the Master Library
If you build a block for equipment the Master Library doesn’t have, you can add it so it’s there next time.
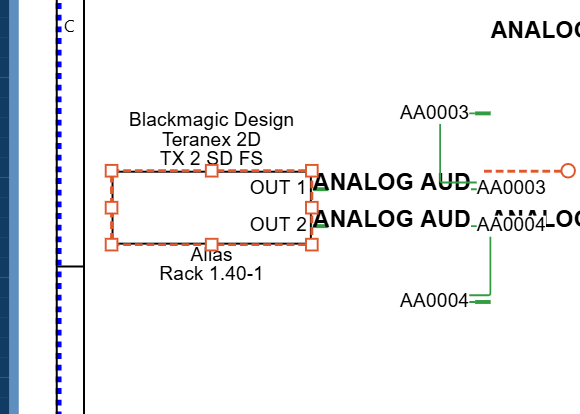
- Place a functional block (for example from Functional Block Prototypes) and give it the real Manufacturer and Model.
- Add and name its ports, connectors and signal types to match the equipment. See Functional Blocks and Ports.
- Optionally set an Alias, which becomes the equipment description, a SysName such as
SPK-10, whose prefix before the first hyphen becomes the equipment type, and an image. - Right-click the block and, under Master Library, choose Upload this block.
When the upload works, the message Successfully uploaded to Master Library appears.
The upload is refused, with a message saying why, when:
- Manufacturer is empty or still reads
Manufacturer, - Model is empty or still reads
Model, or - the Master Library already has that manufacturer and model. Change the name and try again.
Uploading isn’t available on the Free plan. Only functional blocks can be uploaded.
Keeping your own items
Items you build yourself live in a warehouse, not the Master Library: your own warehouse, or one shared with everyone on the project. See Warehouses.